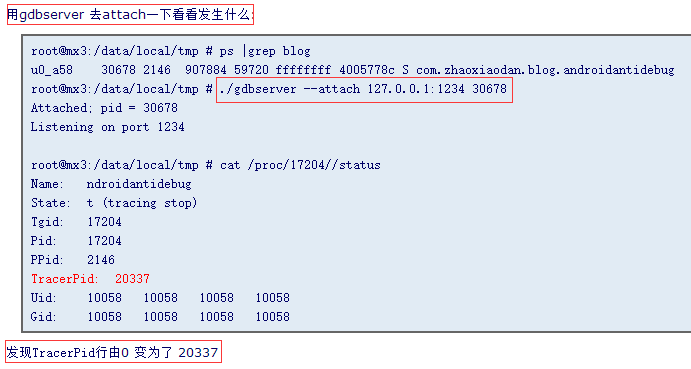
/proc/$pid/status中显示程序的pid等信息,程序正常运行时TracerPid为0。程序被调试后,TracerPid 为正在调试此进程的pid。

实现代码如下:
void be_attached_check(){
    const int bufsize = 1024;
    char filename[bufsize];
    char line[bufsize];
    int pid = getpid();
    sprintf(filename, "/proc/%d/status", pid);
    FILE* fd = fopen(filename, "r");
    if (fd != nullptr){
        while (fgets(line, bufsize, fd)){
            if (strncmp(line, "TracerPid", 9) == 0){
                int statue = atoi(&line[10]);
                LOGD("%s", line);
                if (statue != 0){
                    LOGD("be attached !! kill %d", pid);
                    fclose(fd);
                    int ret = kill(pid, SIGKILL);
                }
                break;
            }
        }
        fclose(fd);
    } else
        LOGD("open %s fail...", filename);
}
解决方法
以2015年阿里安全挑战赛MSC_2题为例进行说明。
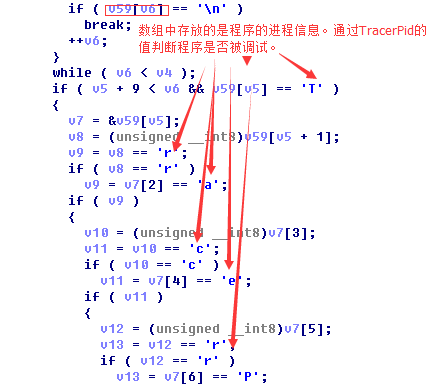
下图是对TracerPid的检测,从寄存器的值可看出程序被调试时TracerPid不为0,故只要修改TracerPid为0就能调试程序。
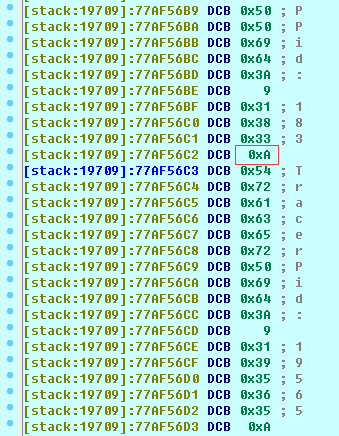
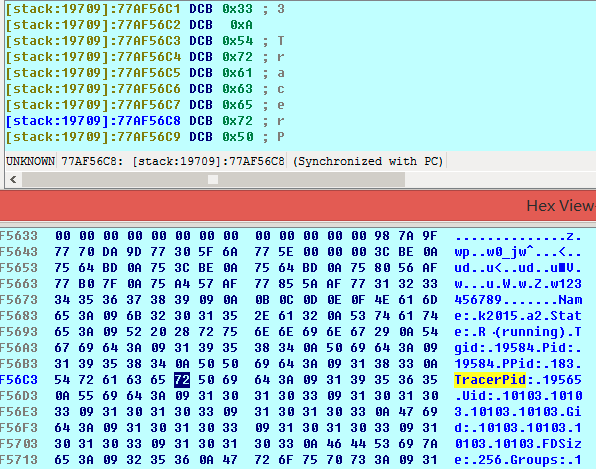
运行到TracerPid的检测,在Hex View中修改v59的数据,将TracerPid后的首位数据修改为0x30(0的ASCII码为0x30,表示程序没有被调试),多余位数修改为0xA(由下图可知各属性用0xA分隔)。然后跳过此段检测代码,无需单步步过。
其他检测字段值的反调试都可以用这种方法来绕过。
除此之外,还有一种方法能一劳永逸地解决该问题,点我查看。